

Learning to drive isn’t just about passing your test—it’s about becoming a responsible vehicle owner. One of the most essential, yet often overlooked, skills is knowing how to perform a basic engine oil and fluid check. Regular checks keep your car running smoothly, prevent costly repairs, and, most importantly, ensure your safety on the road. Whether you’ve just passed your test with a driving school in Ilford or are still searching for the cheapest driving instructor near me, this guide will empower you with the knowledge to look after your first car with confidence.
Part 1: Safety First & Tools You’ll Need
Never check fluids when the engine is hot! Severe burns can occur from hot coolant or oil. Let the engine cool completely before starting.
Essential Tools (All can be found in most car toolkits):
- A clean rag or paper towels
- A pair of disposable gloves (optional but recommended)
- Your car’s owner’s manual (for specific locations and fluid types)
Part 2: The Step-by-Step Fluid Check Guide
2.1 Engine Oil Check (The Most Vital Check)
Engine oil lubricates, cleans, and cools your engine. Running low can cause catastrophic engine failure.
- Park on Level Ground: Ensure your car is parked on a flat surface for an accurate reading.
- Locate the Dipstick: Open the bonnet and find the engine oil dipstick—usually a yellow or orange looped handle labelled “Engine Oil.”
- Check the Level:
- Pull the dipstick out fully and wipe it clean with your rag.
- Reinsert it fully back into its tube.
- Pull it out again and look at the end. You will see two marks: “MIN” (or L) and “MAX” (or H). The oil level should be between these two marks, ideally close to the MAX line.
- The oil itself should be a clear amber or brown colour. If it’s very dark black, thick, or has a milky appearance, it needs changing.
- Topping Up:
- If low, locate the oil filler cap on top of the engine (marked with an oil can symbol).
- Add a small amount of the correct grade of oil (check your manual), wait a minute for it to drain down, and recheck with the dipstick. Do not overfill.
2.2 Coolant (Antifreeze) Check
Coolant regulates engine temperature, preventing overheating in summer and freezing in winter.
- Locate the Coolant Reservoir: It’s a translucent plastic tank with “MIN” and “MAX” level lines on the side. NEVER open the radiator cap when the engine is hot.
- Check the Level: Visually check if the coolant level is between the MIN and MAX marks. The coolant should be clean and brightly coloured (often pink, orange, or blue).
- Topping Up: If low, only top up with a 50/50 mixture of the correct antifreeze and distilled water. Using plain water can cause corrosion and freezing.
2.3 Brake Fluid Check
Brake fluid transfers the force from your brake pedal to the brakes. Low fluid can indicate worn brake pads or a leak, seriously affecting braking.
- Locate the Reservoir: Find the small plastic reservoir on the driver’s side of the engine bay, often labelled.
- Check the Level: The fluid should be between the MIN and MAX lines. The fluid should be clear or a light amber colour. If it’s dark brown, it needs replacing by a professional.
- Warning: A significant drop in brake fluid level is a serious issue. Have your brakes inspected immediately.
2.4 Windscreen Washer Fluid Check
Essential for visibility, especially with UK weather.
- Locate the Reservoir: The cap is usually blue and has a windshield/water symbol.
- Top Up: You can fill this reservoir to the top with a dedicated screenwash solution (more effective than plain water, as it cleans and prevents freezing).
2.5 Power Steering Fluid Check (If applicable)
Not all modern cars have this; many use electric power steering. Check your manual.
- Locate the Reservoir: Usually has a steering wheel symbol on the cap.
- Check Level: With the engine cold, the fluid should be between the marked levels.
Part 3: Creating a Simple Weekly Check Routine (The 5-Minute Habit)
Adopt this quick routine every week or before a long journey:
- Engine Oil
- Coolant Level
- Brake Fluid Level
- Washer Fluid Level
- Tyre Pressure and Tread (a crucial addition for safety)
Part 4: When to Seek Professional Help
While checks are DIY, certain tasks are for professionals:
- Changing engine oil and filters
- Flushing and replacing coolant or brake fluid
- Diagnosing leaks (puddles of fluid under your car)
- If any fluid is persistently low after topping up, indicating a leak.
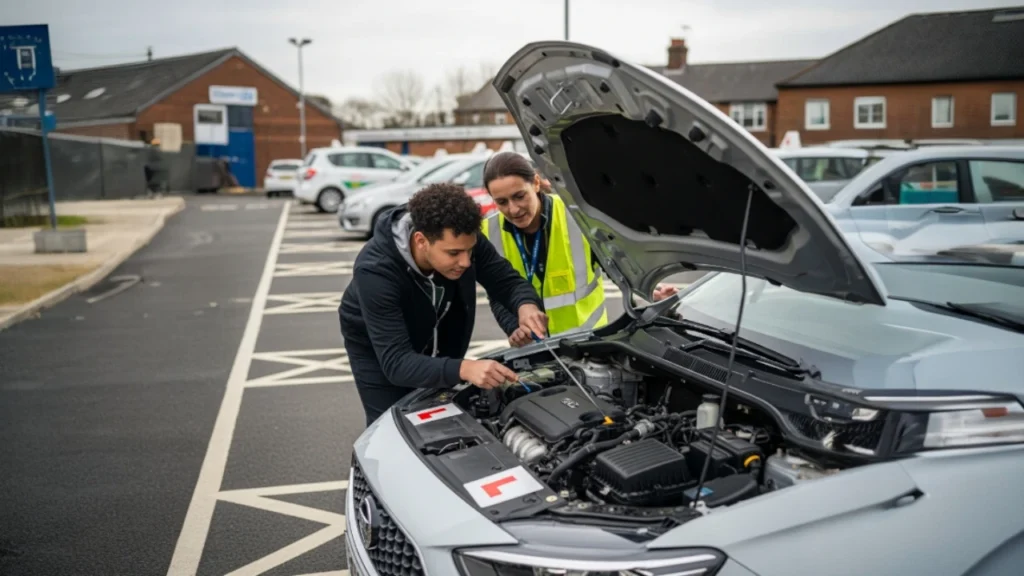
Part 5: The Link Between Driving Lessons and Car Care
A good driving school does more than teach you to pass a test. At Driving Academy Ltd, our instructors in Ilford and London believe in creating knowledgeable, all-round drivers. Part of this ethos includes understanding basic vehicle maintenance—knowing what a healthy car should feel and sound like, and recognising when something might be wrong. It’s an extension of the safety mindset we instil from your first lesson. This engine oil and fluid check guide for new UK drivers is the kind of practical knowledge that complements your driving skills, ensuring you’re safe, confident, and in control in every situation.
Conclusion: Empowerment Through Knowledge
Performing a basic engine oil and fluid check is a simple yet powerful act. It connects you to your vehicle, saves you money, and is a cornerstone of safe driving. Make it a regular habit.
Ready to learn more about safe and responsible driving?
📞 Call Driving Academy Ltd at 07399 696344 – We teach you to drive and to understand your vehicle.
📧 Email: drivingacademyltd@gmail.com – Enquire about our comprehensive driving courses.
📍 Visit Us: 101 Whitechapel High Street, London, E1 7RA
Become a driver who’s prepared for everything. Start your lessons today.